
An annual drama extravaganza where students reinterpret Chinese literary classics, featuring our award-winning play.
2024
Filming, Editing, Photography
Affinity Designer, DaVinci Resolve
Project Overview
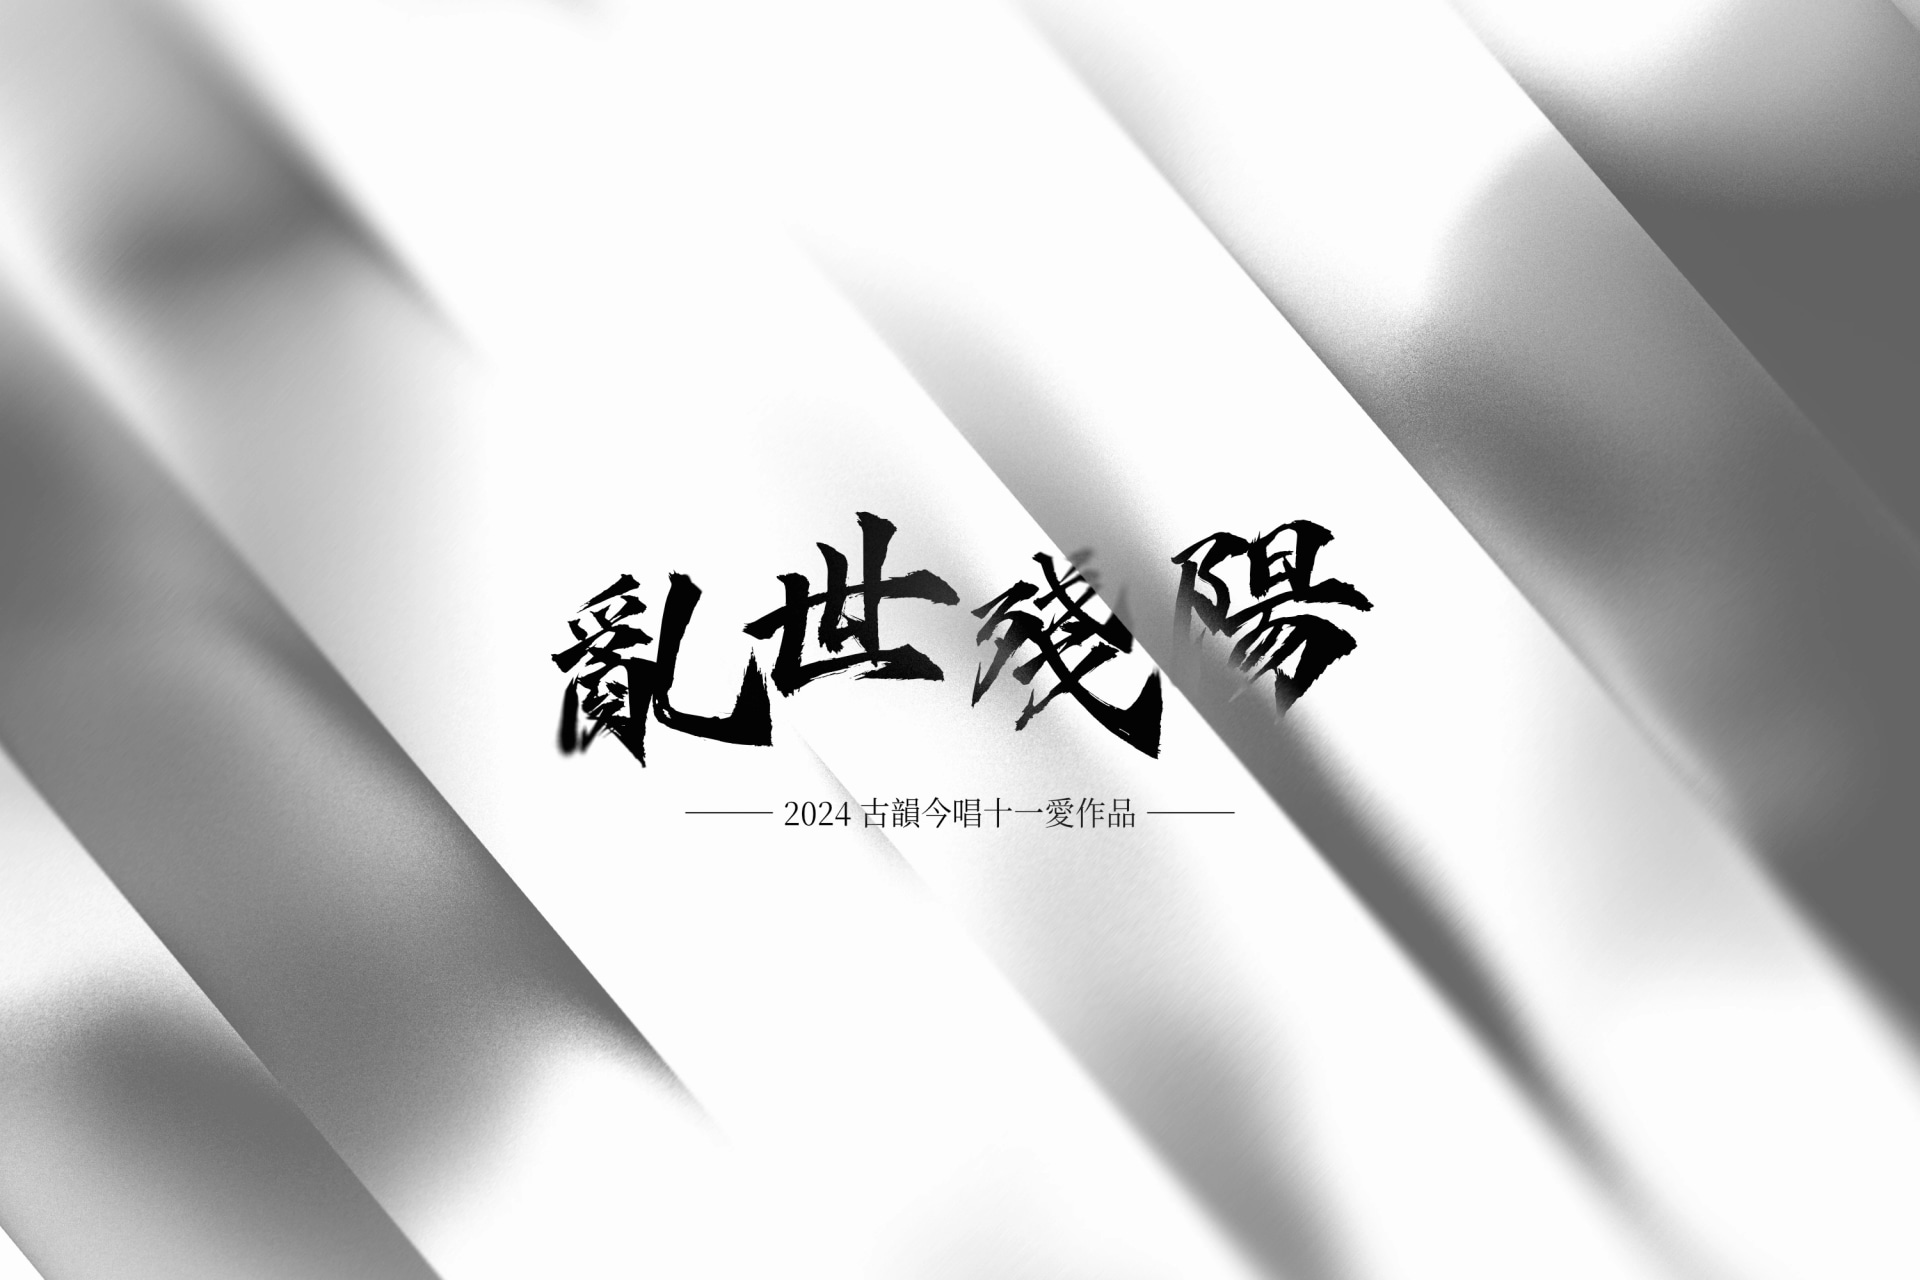
"Classics Reimagined" is our school's annual drama extravaganza, featuring class-based participation from 10th and 11th-grade students. The event encourages students to creatively reinterpret Chinese literary classics, with musical performance as a core element. In this year's competition, our class (11th Grade, Ai Class) won first place with our production, "Remnants of a Tumultuous Sun," which received high praise from the judges.
Synopsis
Our play, titled "Remnants of a Tumultuous Sun," is set against the chaotic backdrop of the late Ming and early Qing dynasties. It reinterprets the dramatic history surrounding the emotional entanglements and intertwined fates of three figures: Wu Sangui, Li Zicheng, and the famous courtesan Chen Yuanyuan.
The story begins at the end of the Ming Dynasty. The rebel leader Li Zicheng's army is at the gates of the capital, and the Chongzhen Emperor, in despair, takes his own life, ending the dynasty. Wu Sangui, then guarding the strategic Shanhai Pass, was disillusioned with the corrupt court and initially held some hope for Li Zicheng. However, the turning point of fate was the courtesan Chen Yuanyuan. After Li Zicheng entered Beijing, his top general abducted Chen Yuanyuan, who was Wu Sangui's beloved concubine, and presented her to Li. This act of "betrayal fueled by rage for a beauty," combined with his family being held hostage, ultimately drove Wu Sangui to allow the Qing army through the pass, completely altering the course of history. The plot then unfolds with a great reversal of fortunes: Li Zicheng, after his defeat, disappears and eventually becomes a monk; Wu Sangui, on the other hand, is promoted and enjoys wealth and glory, yet gradually grows distant from Chen Yuanyuan, the woman for whom he once fought.
The play reaches its climax years later in a reunion. Li Zicheng, now a monk, meets the neglected Chen Yuanyuan again. Together, they lament the helplessness and vicissitudes of life, where "right and wrong, success and failure, all turn to nothing in the end" in the great tide of history. The story concludes in a tragic atmosphere of a fallen hero and a lonely beauty.
Curtain Call Video Production
Building on last year's filming experience, I once again took on the responsibility for filming and editing the entire behind-the-scenes curtain call video. My goal was to present the hard work of every student involved in a style that was a bit "overly flashy."
Production Equipment
- Camera: FUJIFILM X-T5
- Lens: SIGMA 18-50mmm f/2.8
- Stabilizer: DJI RS3 Mini
- Editing Software: DaVinci Resolve Studio 19
- Design Software: Affinity Designer
- Music Source: From Motion Array
Creative Process
Pre-production and Filming
The overall aim for the video was to present the entire production process with a fast pace. After downloading the music, I followed these steps:
- Music Rhythm Analysis: I imported the selected music into DaVinci Resolve to analyze its rhythm and structure, keeping the total length to about one minute to establish the video's narrative framework.
- Shot Planning: Based on the music's beat, I planned the shots for each segment on the timeline and set preliminary edit points on the rhythm markers. Camera movements were primarily pushes, pulls, and orbits to create a fluid visual dynamic.
- Planning the Intro and Outro: Since the beginning and end would feature more flashy effects, I planned the specific shots needed for these sections in advance to make filming more efficient and to know exactly what footage to get.
- Filming: After planning the shots according to the music's rhythm, I began filming. Throughout the process, I tried to ensure the speed and consistency of each shot to make post-production less painful. This was a very long process, often requiring more than five takes for each shot to ensure it met the desired effect.
Post-production

- Asset Organization and Rough Cut: I imported the footage into DaVinci Resolve and placed it on the timeline according to the plan.
- Transition Matching: I added a Speed Curve to the beginning and end of each clip, making it fast at the ends and slow in the middle (0.4x).
- Opening Sequence: The opening was created in Fusion with a seamless zoom out from a computer screen, transitioning into the first high-speed push-pull shot.
- Video Outro: The ending was designed to mirror the opening, "zooming out" of the screen and concluding with a Mask Transition. This transition was quite complex to create:
- First, I recorded a shot of a computer turning on, displaying a placeholder screen. My best friend walks past the camera and turns off the screen as the camera pulls back.
- I used Fusion's Planar Tracker to track the footage that needed to be on the screen, then used a Corner Pin to fix it to the display.
- The entire scene was placed on a 3D Plane with a 3D Camera. At the beginning of the clip, I adjusted the camera to show only the screen's content (this part was very, very time-consuming).
- I keyframed the camera. A crucial point was that both the virtual and real cameras were moving, so adjustments were needed between them.
- During the screen zoom-out, I added Color Correction and Motion Blur to the screen content to make the transition more natural.
- In the Color Page, I used the Magic Mask to add the Mask Transition.
- Sound Design: At each transition point, I layered Riser, Whoosh, and Impact sounds as basic transition elements. To add more character, I also used sounds like Gear Wind or high-voltage electrical currents.
- Color Grading: The footage was originally shot in 10-bit 4:2:2 F-log2 codec. For color grading this time, I primarily used the new Film Looks Creator feature in DaVinci Resolve Studio 19, which not only simplified the workflow but also made the grading process more efficient and enjoyable.

Polaroid Photoshoot
In addition to the video production, to give the intro a warmer and more commemorative feel, I used a flash to take Polaroid-style photos of each student. I also integrated messages they wanted to share in the design, incorporating these precious moments into the start of the video.

Stills


Reflection
Although my main role during the preparation was as a documentarian rather than a performer, it gave me the unique privilege of witnessing every brilliant moment of our class's teamwork—from set design and costume selection to directing, acting, and musical arrangement. The sight of my classmates working together in harmony is still vivid in my memory.
Despite the challenges of filming, the moment the video ended and I heard the applause from the entire audience, I was convinced that all the effort poured into that short minute and a half was worthwhile and had no regrets.
Acknowledgments
Special thanks to all the students who participated in this performance, especially the directors, scriptwriters, and all the partners who worked tirelessly behind the scenes. Your efforts and creativity made this performance possible and gave me the opportunity to capture these wonderful memories through video.